|
Toki
You can be forgiven for not recognizing Toki as being an
original arcade. Toki was part of the wave of cutesy
platformers from Japan that were popular in the late 80's and
early 90's until Street Fighter II started the one on one
fighter trend. And while it didn't exactly take
the arcades by storm, Toki was popular enough to ported to
a wide variety of home systems including the Atari Lynx and
ST. Toki was also planned to have been released for the
Atari 7800, and uncovered internal Atari documents showed that
it was being worked on late into the 7800's life.
Unfortunately this was the only evidence anybody had that the
7800 version ever existed. That is until the near final
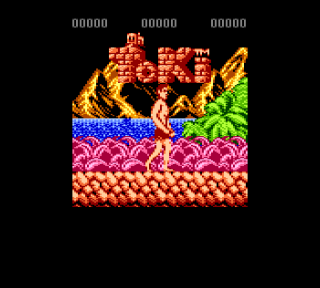
version was discovered on a developer's hard drive. 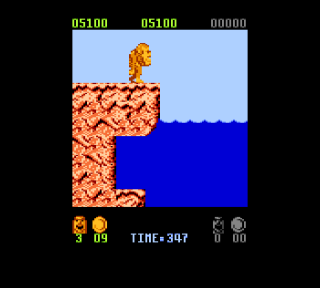 In Toki you play the role of, you guessed it, Toki.
Toki is a peaceful Tarzan
jungle man whose whole island has been turned into beasts thanks
to an evil witch doctors spell (is there any other kind?).
However unlike your fellow islanders, you've somehow retained
your senses and must use your new found apelike powers to rescue
princess Miho from the clutches of the evil Vookimedlo.
One of the side effects of being turned into an ape is that Toki
now has the power to spit energy shots (hence the subtitle
"Going Ape Spit" that was used in some ports). Toki must
use his amazing spitting ability along with power ups he
collects along the way to make his way though five
levels of increasing difficulty.
|
| Fireball | This will increase the size of Toki's shots and make them more powerful |
| Helmet | The helmet will make Toki indestructible to
anything but spikes and bullets. Any enemy that
touches Toki while he's wearing the helmet will die
instantly. |
| Flamethrower | This power up will turn Toki's spit weapon into a powerful flamethrower |
| Split Shot | This is really supposed to be the Three Way shot,
but due to the limitations of the 7800, you only get
two. The Split shot will allow Toki to shoot in a V
shape that angles up and down. Probably the most
useful power up of the bunch. |
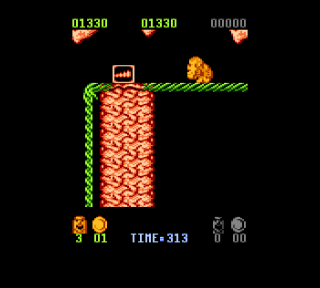
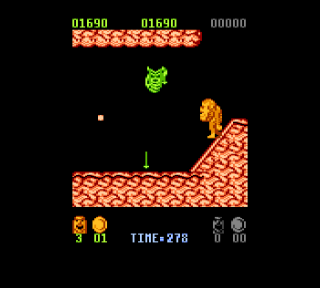
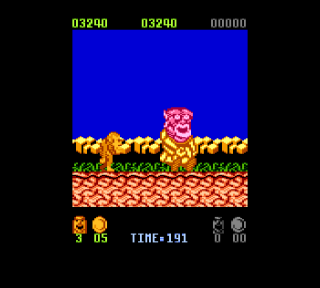
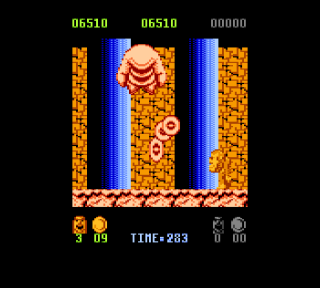
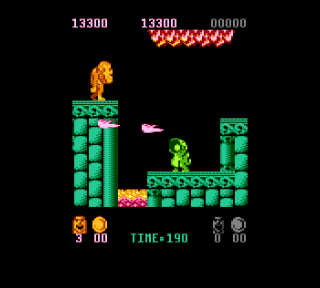
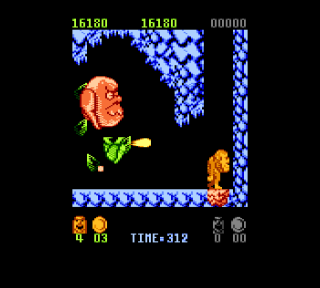
Toki starts his quest outside a large cave. This early intro area is a great place to get acquainted with the controls before you're forced to start dealing with tougher enemies. Make sure you take the time to shoot those odd flying things (Shartoesi) overhead as they will drop coins when shot. Collect enough coins and you'll earn an extra life. Not far into the level you'll see your first power up (Fireball) which will increase the size of your spit balls. Once inside the cave you will see a helmet power up under a falling platform (ride it down a bit to grab it). Grabbing the helmet isn't too difficult and will protect you from the Blastum hiding at the bottom of the pit next to the see-saw. Remember, anything touching Toki while he is wearing the helmet power up will die instantly, so use it to your advantage. After cleaning out all the enemies jump on the end of the see-saw to be thrown upwards. Climb the vine and say hello to your first mini-boss!
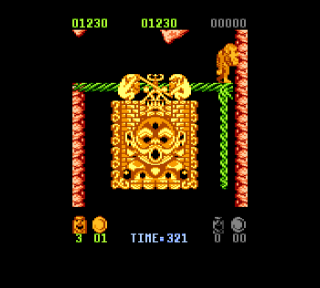
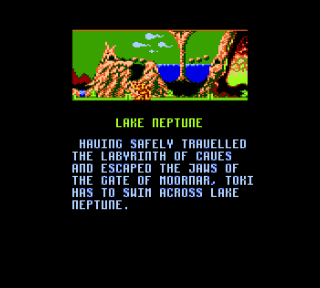
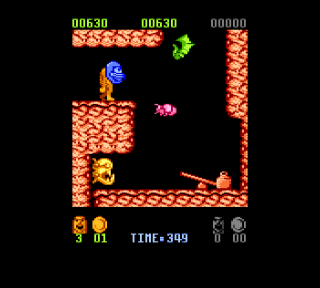
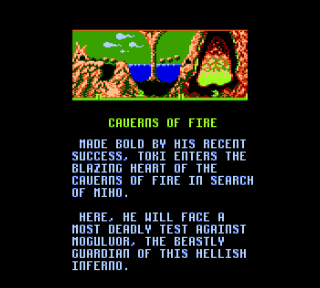
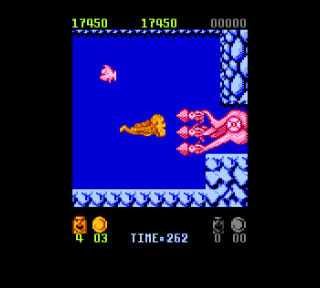
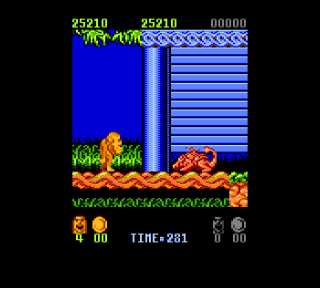
Our first water level, are you excited? This level
is actually pretty short, but before you can get to beautiful
Lake Neptune you'll have to deal with some Geeshergams operating
a cannon. The cannon actually doesn't pose much of a
threat as long as you take your time and don't run and try and
grab the power up like a fool. After climbing a little bit
you'll eventually come to the lake.
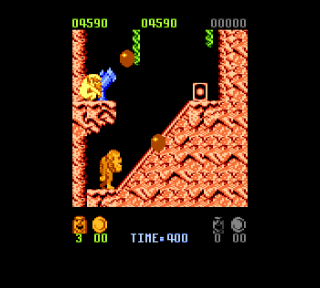
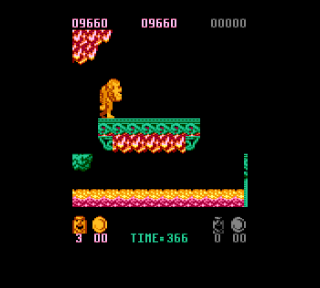
Drop down into the next area, but hang to the right or
you'll have to hope you land on the moving platform above the
lava. Climb down the vine and do another drop of blind
luck to land on another moving platform. Take the falling
stone down to another chamber and our old friend Raktura.
This time around there's no helmet to cheese your way through,
so you'll have to take Raktura down the old fashioned way.
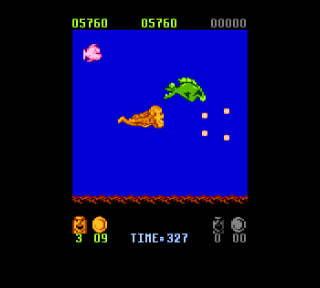
After dealing with Raktura Toki will have to ride a tiny
platform across the lava while avoiding Killer Harnas until he
reaches another section of land infested with thorn
spikes.

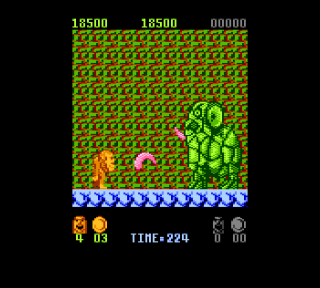
After the spikes you'll encounter a new enemy called
Timagon which is a giant green lizard that hatches out of an
egg. When he hatches the egg shells shoot out and will
kill you if they hit you. Grab the Fireball power up and
take the Timagon out before he starts breathing fire.
You'll then run into two more which may be more than you can
handle, but you can duck and shoot the top one from your
platform before dropping down to finish off the second
one. You'll then come to a very tricky jump where Toki
must be almost falling off the edge to make. When you do
actually make the jump you'll land on a platform which drops if
you stand on it too long. Thankfully the platform is
really made of two halves so quickly jump and grab the Fireball
power up, move over to the right side of the platform before the
left drops, jump to safety. Just make sure to take out the
Geeshergam waiting for you first. Take
out yet another Timagon and you'll finally encounter this
level's boss.
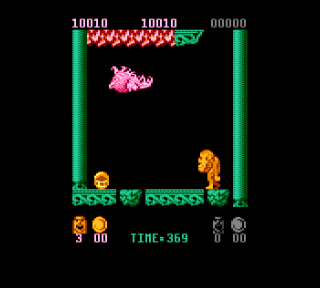
Mogulvar appears to be some sort of demonic insect that
burps out letters that spell BURP (well isn't that
lovely). Much like Boloragog, Mogulvar likes to jump
around and can be a real pain in the neck to dodge. The
letters fly in an arc like motion and then drop when they're
above you. The letters are hard to avoid, but go down
with one shot so simply aim up as they drop down at you.
Mogulvar will take 40 hits to destroy, but it's oh so satisfying
when you do.
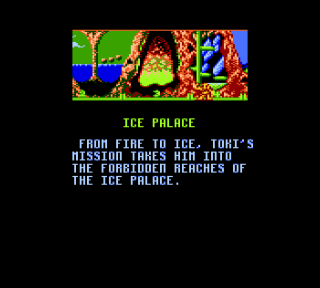
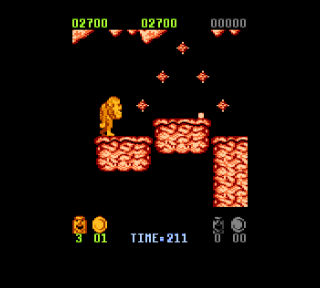
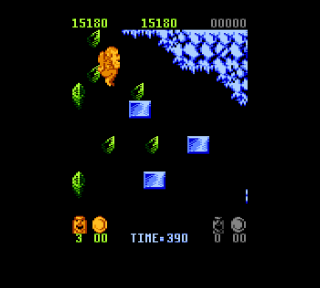
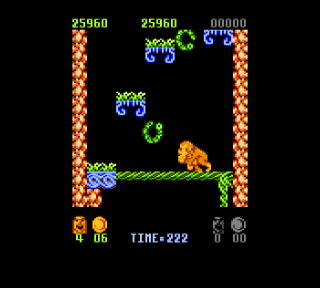
The requisite ice level (no 80's game would be complete
without one!). The first thing you'll notice is a bunch of
floating ice blocks above a pit. The second thing you'll
notice is that these blocks drop almost immediately after you
land on one, so you'll have to jump from block to block quickly
or you'll drop into the pit. Make sure you don't jump too
soon off the last one or you'll hit the side of the cave.
Instead wait for it to drop a but then jump off and quickly kill
the waiting enemies. After climbing a short series of
dropping platforms you'll come across a series of slopes with
Blastums waiting to launch at you. It's easier to jump on
the Blastums rather than turning around and shooting them.
Eventually Toki will come to a dropping platform which will take
him to a chamber with a your next mini boss: Galartor.
Just make sure you watch out for the Blastum hanging out towards
the top of the drop.
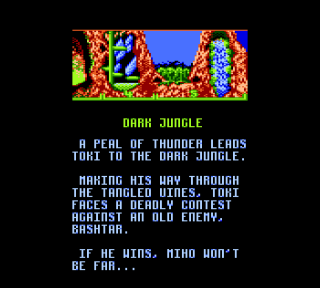
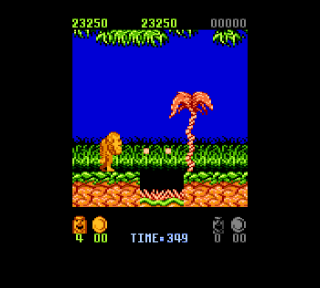
The Dark Jungle is where the difficulty really starts
ramping up and with good reason as it's the final level.
The first area of this level is a series of pits that must be
jumped over and large enemies that take several shots to
destroy. At the start of the level you'll encounter a
Creepavore which you'll have to duck to shoot as it scurries
across the ground. Watch out as these nasty little
critters shoot fireballs and can hit you with their tongue as
well. After destroying several thorn spikes, you'll
encounter a Catecormos which will burst out of the ground and
then jump around trying to hit you. Thankfully they go
down in a few hits, but they can surprise you if you're not
careful. The secret is to bait them so they jump out right
into your shots. After a short time you'll see what
appears to be a palm tree on the other side of a pit throwing
bullets at you. The Katyerow (seriously, who names these
guys) isn't too dangerous but take several shots to
destroy.
After the pit you'll encounter a Webstamite that takes
several shots to destroy (super Webstamite?) and another
Katyerow. Next you'll see another Creepavore but instead
of shooting him, make sure you jump on him so you can reach the
Fireball power up. Just be careful that he's not shooting
when you attempt to do this. After a series of
Catercormos, Creepavores, and falling platforms over pits,
you'll see two Killer Harnas and a helmet power up. Shoot
the top Harnas and jump off the bottom one to reach it, then
take the see-saw up to the next area.
This area looks more like a palace than the Ice Palace
level did, but technically it's still jungle (jungle
temple?). Jump on another Killer Harnas to reach the Split
Shot power up and you'll reach a climbing area with some rolling
worm looking enemies. These guys (who apparently don't
have a name), are invincible but that's actually a good thing
because you'll need to bounce off them to get enough height to
reach the platforms. Bounce off the two worm things, climb
the next series of platforms (watch out for the Webstamite), and
take the see-saw to the top. Carefully jump over a series
of spiked pits (watch out that you don't ride the platforms down
into the pit), and you'll have a showdown with Bashtar, Miho's
kidnapper.
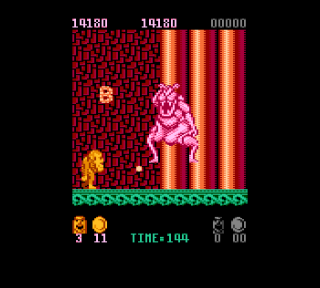
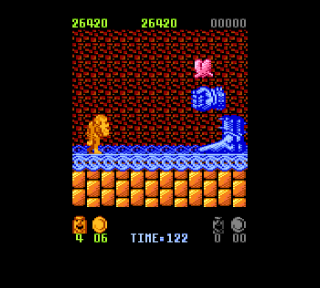
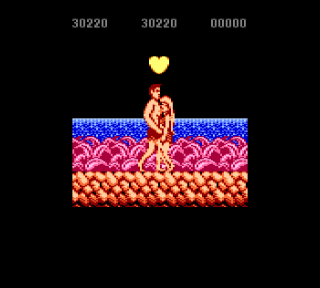
Bashtar is the original invisible giant (read a book
people). Well, mostly invisible anyway as all you'll see
are his feet, his hand, and his heart. As you might have
guessed it's the heart that you need to aim at. If you
grabbed the Fireball power up from the previous room, Bashtar
will go down in only a few hits. While his feet are
invincible, it's a good idea to shoot them now and then or
they'll charge at you. Occasionally Bashtar's hand will
grab his heart and protect it from all your shots, but he
releases it after a short time. For a final boss, Bashtar
is a real let down as his feet are the only attack he has.
No fireballs, no flying fist, nothing but marching feet.
So just hang back and shoot his heart a few times and
he'll go down like the chump he is.
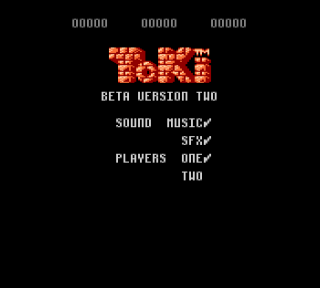
| Version | Cart Text | Description |
| ?/??/93 | Beta 2 |
PAL version. Very close
to final |